Scholarships2u > Help Center > Scholarship Creation Part 2
Scholarship Creation - Part 2 / 3
In this article, we will cover the second part of the scholarship creation process.
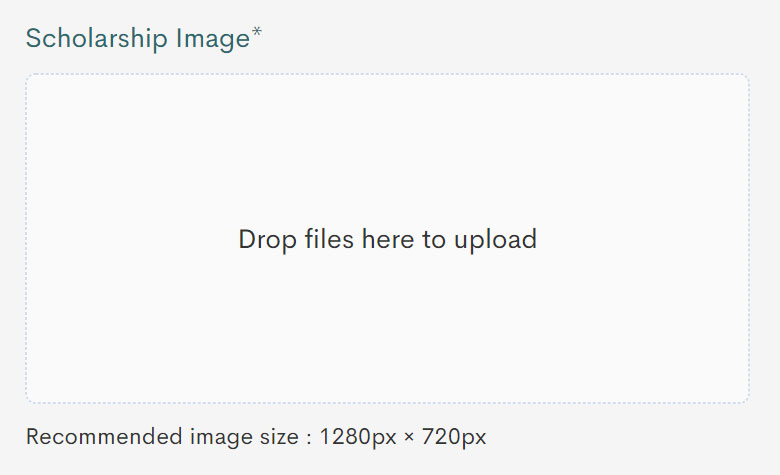
The scholarship image serves as a banner for that specific scholarship. Click on the image box to upload a file, or drag and drop an image into the box. As your institution logo will be placed in the bottom middle of the banner, please ensure that the image will not be affected or look awkward due to this.
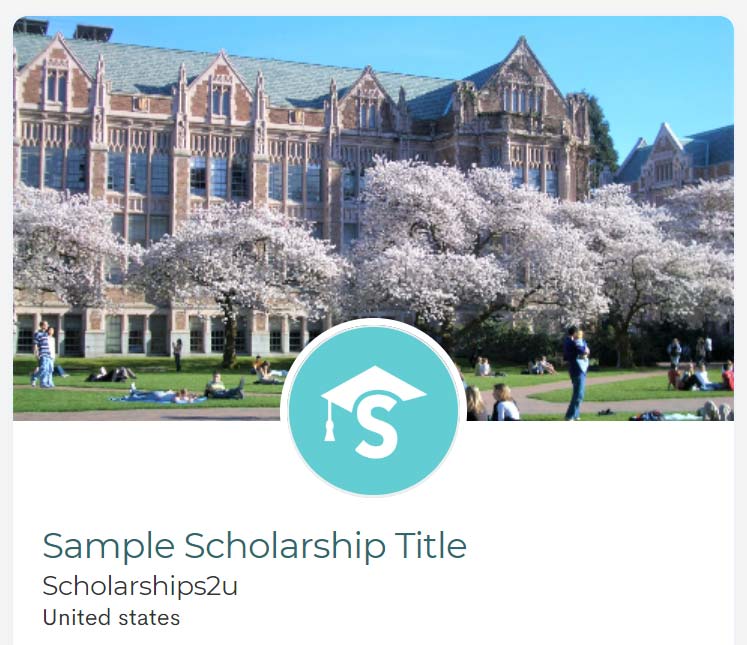


Your banner of choice carries your institution's identity. It is important to choose an image that compliments this. Here are a few examples to provide you with an idea of how an image banner in a scholarship card may look like.
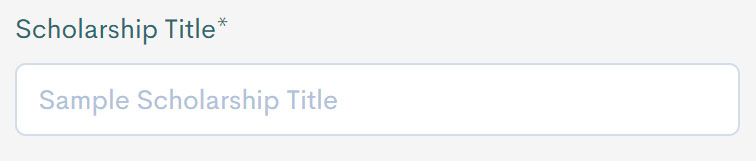
The scholarship title is the name of your program.
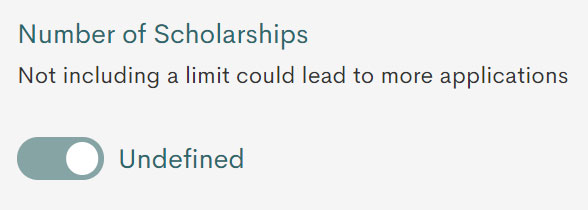
Number of scholarships shows how many applicants you will award the scholarship to. By default, this is set to undefined.
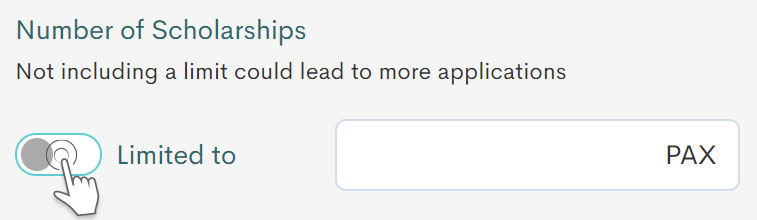
To set a limit to the number of applicants you will award the scholarship to, click on the switch, and enter the number of applicants.
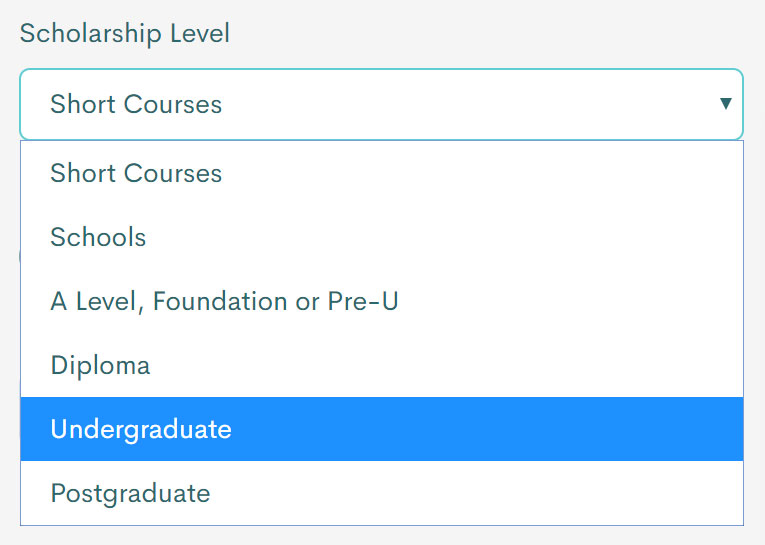
Scholarship level refers to the education level your scholarship is available to.

By default, a scholarship is labelled as a full scholarship.

When you label your scholarship as a partial scholarship, please state the percentage amount of your partial scholarship.

Enter the scholarship value here.
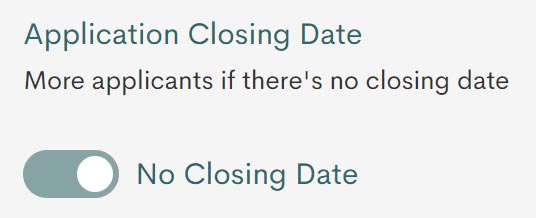
By default, a scholarship has no expiration date.

You can enable this by clicking on the switch and selecting the date of expiry.
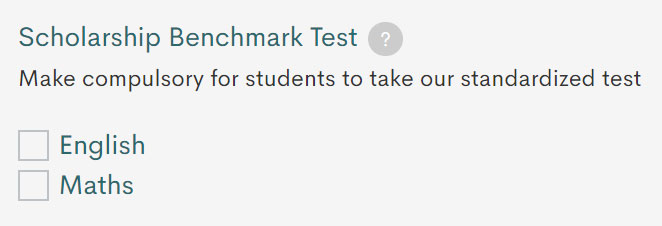
The Scholarship Benchmark Test (SBT) section lets you select if applicants should take our independent test and the minimum band they should get.
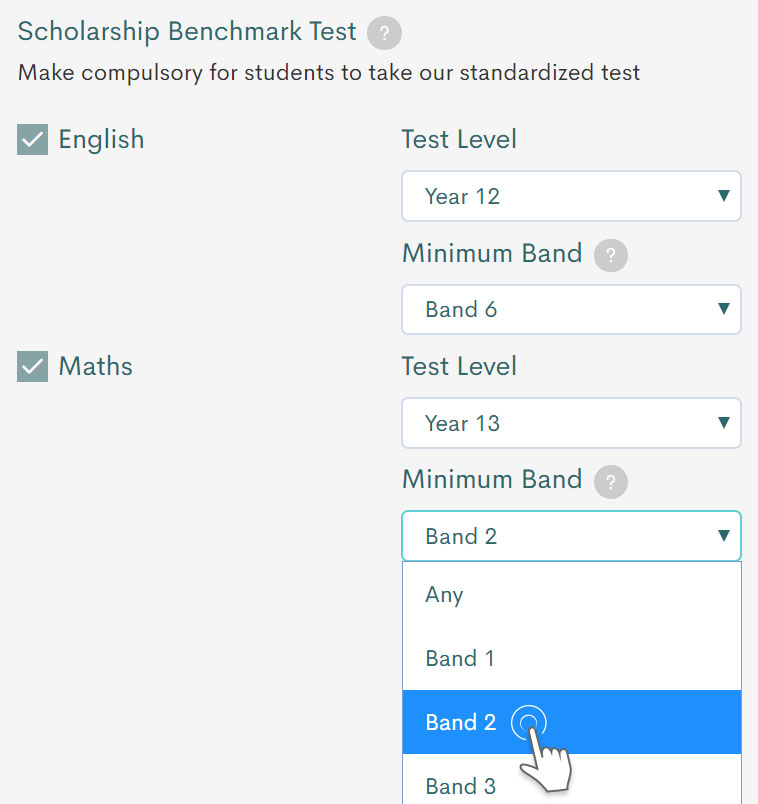
To do this, tick the checkboxes of the SBT subject you would like applicants to sit for. Then, select the level of difficulty and the minimum band that the applicants should get.
Press next after you’ve completed this section.
Scholarship Creation - Part 1 Scholarship Creation - Part 3